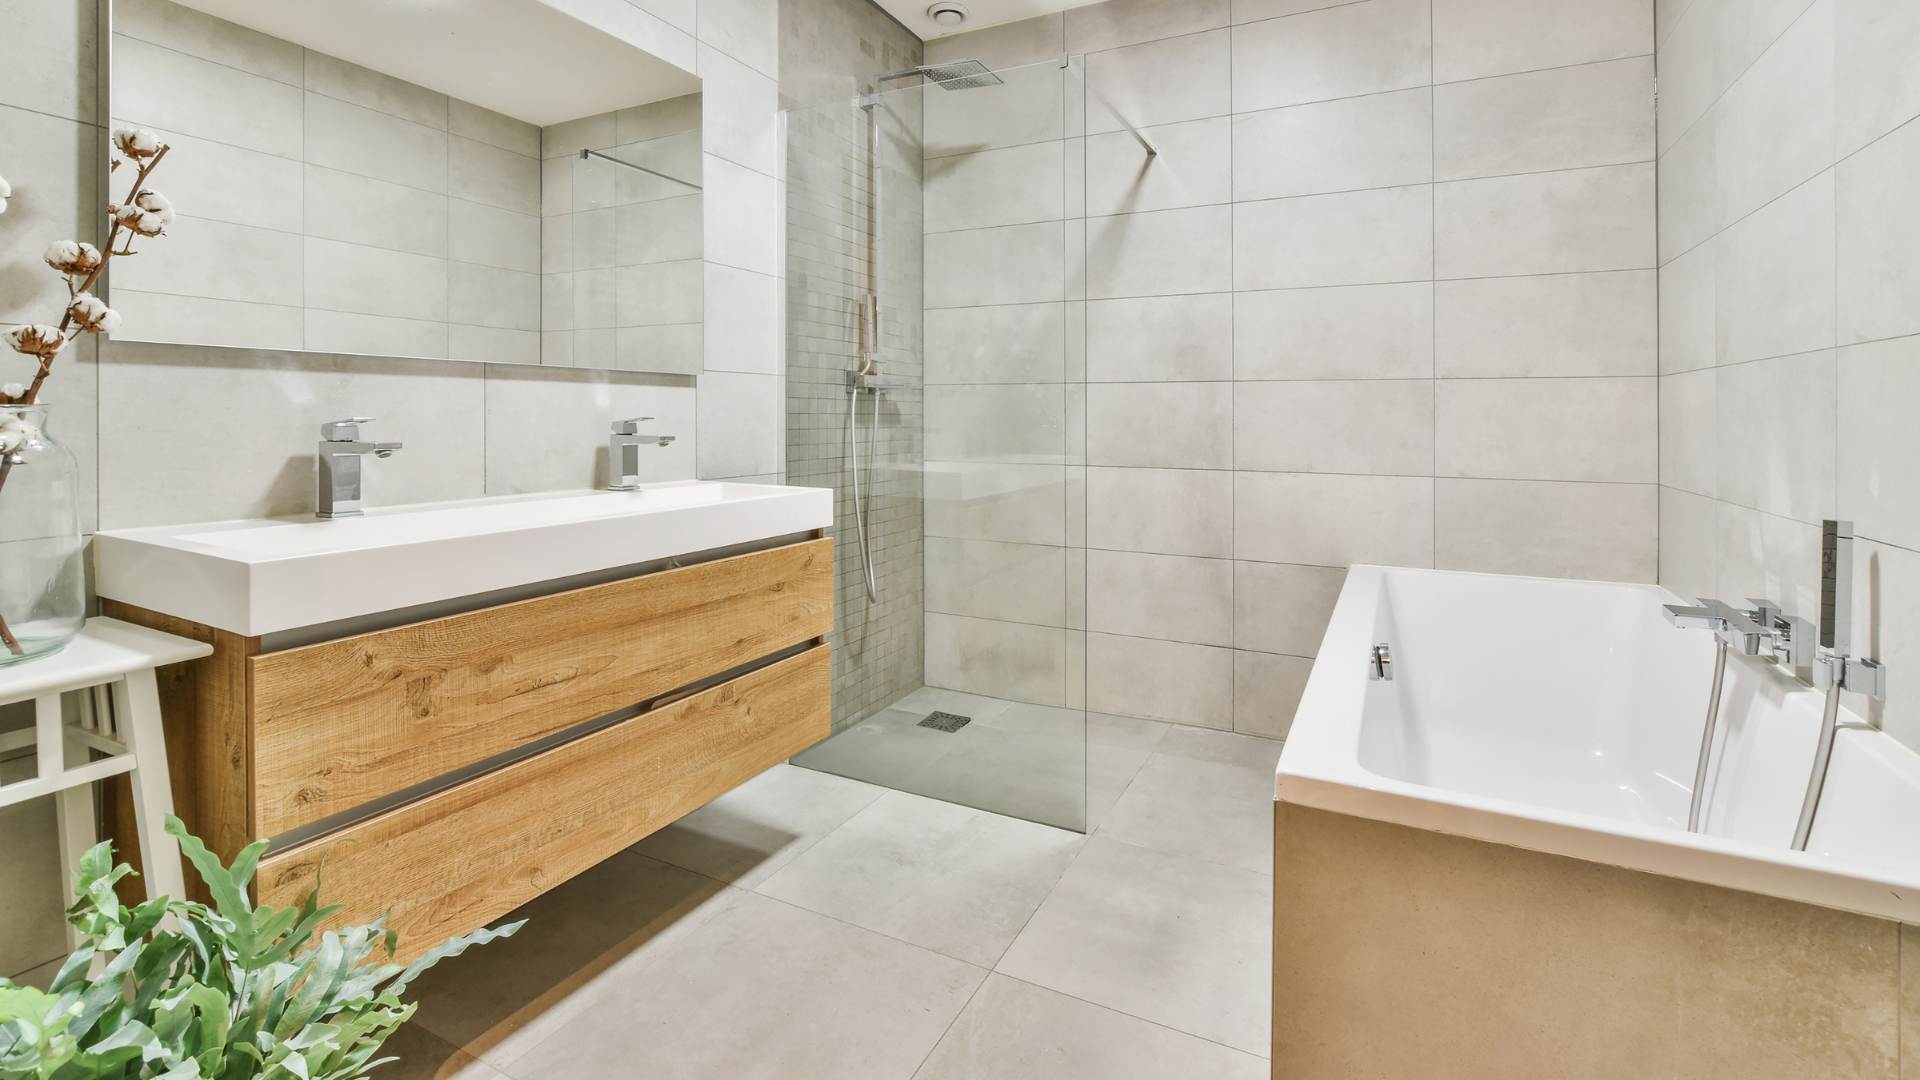

Mould and moisture prevention is not the most exciting part of a renovation. But it is the part that determines whether your new bathroom or kitchen holds up for 20 years or starts showing problems in five. The decisions that matter most for mould and moisture prevention are made during the renovation itself, not after.
This guide covers how mould forms, what the early warning signs look like, how to prevent moisture problems during a renovation, when to call a professional, and what safety hazards Ontario homeowners need to know before demo begins. The tone here is practical, not alarming. Most of this is genuinely manageable with the right information and a contractor who does things correctly.
If you’re still in the planning phase of your project, the Renovation Timeline and Permit Guide for Ontario is a good companion read. Moisture-related decisions connect directly to sequencing and permit requirements.

Key Takeaways
- Mould and moisture prevention starts during the renovation, not after. The decisions made during rough-in, waterproofing, and tile stages determine long-term outcomes.
- Mould needs three things to grow: moisture, warmth, and organic material. Kitchens and bathrooms have all three. Remove the moisture and you remove the risk.
- Waterproofing membrane in the shower is the primary line of defence. It is not optional and it cannot be rushed.
- Exhaust fans must vent outside the building. Venting into the attic is code-violating and a common cause of hidden mould damage in older Ontario homes.
- If your home was built before 1990, asbestos testing is required under Ontario Regulation 278/05 before any demo work begins.
- GFCI outlets in wet areas are a code requirement, not an upgrade. No exceptions.
Jump to a Section
How Mould Forms: The Three Conditions and Why Kitchens and Bathrooms Are High-Risk
Mould and moisture prevention is simpler to understand when you know exactly what conditions mould requires. There are three conditions required, and all three exist in kitchens and bathrooms.
1. Moisture
The primary driver. Steam from showers, condensation on cold surfaces, water at the sink, leaking plumbing, dishwasher steam in the kitchen. Eliminate moisture and mould cannot establish. This is why mould and moisture prevention is really a moisture control problem first and a mould problem second.
2. Warmth
Mould thrives between 10 and 35 degrees Celsius. Ontario homes sit in that range year-round indoors. This condition cannot be eliminated, so moisture control and proper materials become the entire strategy.
3. Organic Material
Drywall, wood framing, paper backing on fibreglass batt insulation, particleboard in older vanities. All of these are organic materials that mould can grow on. Using the right substrate materials in wet areas removes this condition from the equation.
Why Renovations Are a High-Risk Time for Mould and Moisture Problems
Renovation is when mould and moisture risk is highest. Three specific reasons:
Disturbing Existing Moisture Damage
Demo of old tile, tub surrounds, and wall material often reveals moisture damage that was hidden and growing for years. Opening the wall exposes both the problem and anyone in the space to whatever has been accumulating behind it. This is not uncommon in Ontario homes that have not been renovated since the 1980s or earlier.
Poor Waterproofing Installation
A waterproofing membrane that is applied incorrectly, skipped, or not fully cured before tile goes up creates a pathway for water to reach the substrate. The tile looks fine for months or years. The problem builds quietly behind it. This is one of the most common causes of repeat bathroom mould problems that homeowners find five or ten years after renovation.
Inadequate Drying Time
Contractors under timeline pressure sometimes move to the next stage before materials are ready. Waterproofing membrane needs to fully cure before tile adhesive is applied. Rushing this step compromises the membrane’s integrity. Adequate drying time is a non-negotiable part of a proper mould and moisture prevention approach during a renovation.
Worth Knowing
Health Canada confirms that mould problems are preventable. The key is identifying and solving the moisture source. If the moisture source is not addressed, mould will return regardless of how thoroughly it was cleaned. This is why surface cleaning of visible mould without addressing the underlying moisture pathway is not a long-term solution.
Early Warning Signs: Why Mould and Moisture Prevention Starts With Knowing What to Look For
Mould and moisture prevention depends on catching problems early. Some signs are obvious. Others are easy to miss until the damage is significant.
Visible Warning Signs
- Staining on walls or ceiling, particularly in corners near the shower or tub
- Paint bubbling or peeling on walls near the vanity or around the toilet
- Grout cracking, darkening, or changing colour in the shower or tub area
- Tile lifting from the wall or floor, particularly in the wet zone
- Soft or spongy floor near the toilet base or around the tub
- Visible dark spotting on grout or caulk joints
- Staining on the ceiling below an upstairs bathroom
Invisible Warning Signs
- Musty smell in the bathroom that doesn’t go away after ventilation
- Persistent condensation on walls or mirrors long after a shower
- Cold spots on bathroom walls, which can indicate moisture in the wall cavity
- Unexplained increase in allergy or respiratory symptoms when using a specific room
- Consistently high indoor humidity that your exhaust fan doesn’t seem to resolve
- Grout joints that feel softer than they should when pressed
If you notice any of these signs in a bathroom you are planning to renovate, raise them with your contractor before demo begins. These are exactly the kinds of findings that emerge during demolition and become the hidden costs in a renovation budget. Building in a contingency for moisture discovery is standard practice for any full gut renovation in an older Ontario home. The Renovation Mistakes and Myths Guide covers why skipping this step is one of the most common and costly renovation decisions homeowners make.
Mould and Moisture Prevention During Your Renovation
The renovation phase is where all the critical mould and moisture prevention decisions are made and locked in. Once the walls are closed and tile is set, you are committing to the quality of what’s behind them for the life of the renovation.
Waterproofing: The Primary Mould and Moisture Prevention Measure
In a bathroom, the waterproofing membrane is the single most important mould and moisture prevention measure in the entire renovation. It determines whether water reaches the wall framing or stays where it belongs. It is not a finishing detail. It is a structural decision that determines whether water reaches the wall framing.
A proper waterproofing membrane is applied over cement board or tile backer at every shower wall, shower floor, and tub surround. Seams, corners, and drain connections are the highest-risk areas and need careful coverage and reinforcement. The membrane needs to be fully cured before tile adhesive is applied over it.
The specific systems, membrane types, and what to look for in a proper installation are covered in detail in our Underfoot Guide . The principle here is simple: ask your contractor what system they use, ask to see the product, and ask them to describe how they seal corners and the drain connection. A contractor who can walk you through it clearly is one who actually does it properly.
Grout and Caulk: A Key Mould and Moisture Prevention Detail
Grout and caulk have different jobs and cannot be used interchangeably. This is one of the most commonly mishandled details in bathroom installations and one of the most common entry points for water over time.
Where Grout Goes
Between tiles on the same surface plane. Floor tiles, wall tiles, within the shower. Grout fills the joints between tiles where both surfaces are moving together or not at all. It is rigid when set and holds up well on flat surfaces.
Where Caulk Goes
At every change of plane. Where the floor meets the wall. Where the wall meets the tub deck. Where the wall meets the shower threshold. Where the wall meets another wall in a corner. These joints experience movement and expansion. Rigid grout in these locations will crack. Caulk flexes with the movement and maintains the seal.
Caulk maintenance: Silicone caulk at change-of-plane joints in bathrooms typically needs replacing every 5 to 10 years depending on use. When caulk shrinks, cracks, or pulls away from the surface, water enters the joint. Recaulking is straightforward and is one of the most effective ongoing mould and moisture prevention measures a homeowner can do themselves.
For information on grout types, waterproof grout options, and tile surface selection for wet zones, see the Kitchen and Bathroom Renovation Materials Guide.
Backer Board Selection: A Mould and Moisture Prevention Decision
The material behind the tile in a shower or tub surround is as important as the tile itself. Regular drywall, even if painted, is not appropriate in wet areas. When water reaches it, it absorbs moisture, softens, loses structural integrity, and provides an ideal substrate for mould growth.
| Material | Suitable for Wet Areas? | Notes |
|---|---|---|
| Cement board | Yes | The standard for shower walls and floors. Inorganic, dimensionally stable, does not absorb moisture. Needs a waterproofing membrane applied over it before tile. |
| Foam board (Wedi, Schluter) | Yes | Waterproof by nature. Lighter than cement board. Used in system-specific installations. More expensive but requires less additional waterproofing. |
| Green board / moisture-resistant drywall | Only in dry zones | Resistant to ambient humidity. Not appropriate behind tile in wet zones. Will absorb moisture and fail over time if used in a shower or tub surround. |
| Regular drywall | No | Not appropriate in any wet area, regardless of paint or sealer applied over it. Organic paper facing absorbs moisture and provides ideal mould substrate. |
Ventilation as Ongoing Mould and Moisture Prevention
An exhaust fan is not a passive feature. Run consistently, it is an active mould and moisture prevention system that needs to run during and for at least 30 minutes after every shower, according to Health Canada guidance. A fan that is installed but not used consistently does not prevent moisture buildup.
The fan needs to vent to the exterior of the building. Not into the attic. Not into an adjacent wall cavity. To the outside, through the soffit, exterior wall, or roof. Venting into the attic is a code violation under the Ontario Building Code and one of the most common causes of hidden attic mould damage in older GTA homes.
A general sizing guideline: one CFM per square foot of bathroom space. A 50 square foot bathroom needs at least 50 CFM minimum. Bathrooms with soaking tubs, steam showers, or high daily usage need more. A humidity sensor timer that automatically runs the fan until humidity drops to a set level is a practical upgrade that eliminates the need to remember to run it manually.
Fan sizing, duct routing, code requirements, and timer options are covered in full in our Lighting and Ventilation Guide (coming soon).
Kitchen Moisture Sources: Brief but Important
Kitchens are a secondary concern compared to bathrooms, but kitchen-specific mould and moisture prevention still matters. Steam from cooking, condensation under the sink from plumbing, dishwasher steam at the door seal, and water at the sink splash zone all introduce moisture into the kitchen environment.
Using the range hood fan on its highest setting while cooking, keeping the area under the sink dry and regularly checked, and ensuring the dishwasher door seal is intact are the most effective ongoing mould and moisture prevention measures in a kitchen. These are habits, not renovation decisions, but they matter for the long-term condition of the space.
When to Call a Professional for Mould and Moisture Prevention
Some situations requiring mould and moisture prevention action can be handled by a homeowner. Others cannot. Knowing the difference matters both for your health and for the effectiveness of the remediation.
Signs That Damage Has Already Occurred
Soft or Spongy Subfloor
When the floor feels soft near the toilet base or tub, the plywood subfloor has been compromised by moisture. This is a structural issue requiring subfloor replacement before new tile can be installed. A contractor needs to assess the extent before any new work begins.
Black Mould Behind Tile
When demo reveals black or dark mould growth inside the wall cavity or on the backside of removed tile, this is not a surface-cleaning situation. The affected materials need removal and the underlying moisture pathway needs to be identified and fixed before new materials go in.
Structural Softening in Walls
Wall framing that has been exposed to chronic moisture can soften or rot. If a stud feels soft to the touch during demo, it needs to be assessed and potentially replaced. Building on compromised framing creates ongoing structural risk and continued mould conditions.
When Professional Mould and Moisture Prevention Remediation Is Required in Ontario
Small surface mould on grout, caulk, or tile can usually be cleaned by a homeowner using soap and water with appropriate respiratory protection. The Ontario Building Code and Health Canada guidance both distinguish between small isolated areas and larger infestations.
General Ontario guidance thresholds:
- Small isolated area (under 1 square metre, 10 sq ft): A homeowner can clean this with soap and water, N95 respirator, rubber gloves, and eye protection. Remove any materials that cannot be cleaned.
- Larger area or recurring mould despite cleaning: Professional assessment is recommended. The underlying moisture source needs to be identified. Simply cleaning visible mould without addressing the source is not effective.
- Mould inside wall cavities, on framing, or in HVAC systems: Professional mould remediation is required. This involves containment procedures, proper removal, and verification that the problem is resolved before walls are closed.
Pro Tip
Health Canada advises against air testing for mould as a diagnostic tool. A thorough visual inspection by an experienced professional is more useful and less expensive. The goal is to identify the moisture source, not just catalogue the mould. Fix the source and the mould problem is solvable. Fix only the mould and it comes back.
If significant moisture damage is discovered during your renovation and you need to find a contractor qualified to handle it, the How to Hire the Right Renovation Contractor Guide covers what to look for and what questions to ask.
Safety Hazards That Connect to Mould and Moisture Prevention
Mould and moisture prevention covers ongoing water management. But there are renovation-specific safety requirements that homeowners should understand before any work begins.
GFCI Outlets: A Code Requirement, Not an Upgrade
Ground Fault Circuit Interrupter outlets are required by the Ontario Building Code in any location within a certain distance of water sources. In bathrooms and kitchens, this means all outlets must be GFCI protected.
A GFCI outlet monitors the current flowing through the circuit. If it detects even a small imbalance, indicating current is flowing through an unintended path such as a person, it shuts off power within milliseconds. In a wet environment where electricity and water can meet, this protection is non-negotiable.
Where GFCI protection is required in Ontario residential bathrooms and kitchens:
- All outlets in bathrooms, regardless of distance from water
- Kitchen outlets within 1.5 metres of a sink
- Any outlet in a garage, unfinished basement, or outdoor location
- Any outlet near a hot tub or pool
Your licensed electrician handles GFCI compliance automatically. If a contractor is suggesting that GFCI outlets in your bathroom are optional or an upgrade, that is a red flag worth taking seriously.
Slip Resistance in Bathrooms: Safety and Mould and Moisture Prevention Together
The choice of floor tile in a bathroom affects safety directly. Bathroom floors are regularly wet and the risk of slipping is real, particularly for older adults and young children. Selecting floor tile with appropriate slip resistance is a design decision that has safety consequences.
Two rating systems matter:
- PEI (Porcelain Enamel Institute) rating: Measures tile hardness and wear resistance. For bathroom floors, PEI 3 minimum, PEI 4 or 5 for high-traffic areas.
- COF (Coefficient of Friction): Measures slip resistance. For wet areas, a COF of 0.60 or higher is the recommended minimum. Look for tiles specifically rated for wet floor applications.
Textured floor tile is not just an aesthetic preference in bathroom design. The texture creates micro-grip that maintains traction on a wet surface. Large, smooth-format tiles look striking on a bathroom floor but require specific attention to slip rating in wet areas.
If accessibility is a consideration now or in the future, curbless shower entries and additional grab bar blocking are two of the most practical safety decisions that can be made during a renovation at minimal extra cost. The Accessible Renovation Guide covers these decisions in full.
Chemical Storage and Ventilation: Mould and Moisture Prevention During the Build
Tile adhesives, grout sealers, primers, and waterproofing products all release fumes during application and curing. Some require specific ventilation conditions and have minimum temperature requirements that affect how long they take to cure.
Your contractor should ensure the work area is ventilated during adhesive and sealer application. Keep the space ventilated until products are fully cured. Do not allow children in a freshly tiled space until all adhesive and grout products have fully cured and the room has been aired out. Refer to product data sheets for specific ventilation and drying requirements. Following them directly supports mould and moisture prevention, because rushing drying and curing times creates exactly the conditions that lead to moisture problems later.
Asbestos and Lead Paint: Mould and Moisture Prevention Before Demo Begins
If your home was built before 1990, this section applies to your renovation and needs to be read carefully before any demolition begins.
Asbestos in Ontario Homes Built Before 1990
Asbestos was widely used in Canadian building materials from the 1930s through the late 1980s. Health Canada confirms that before 1990, asbestos was mainly used for insulating buildings against cold weather, noise, and for fireproofing. The manufacture and import of asbestos products was prohibited in Canada in 2018, but homes built before that period may still contain asbestos in place.
Under Ontario Regulation 278/05 (Designated Substance, Asbestos on Construction Projects and in Building and Repair Operations), materials that may contain asbestos must be tested before they are disturbed or removed. This is a legal requirement, not a recommendation. The fine under the Ontario Occupational Health and Safety Act for improper asbestos removal is $25,000.
Common locations in older homes where asbestos may be present:
- Stippled or popcorn ceiling texture
- Vinyl floor tiles and their adhesive backing
- Drywall joint compound (prior to the mid-1980s)
- Pipe insulation and boiler wrap
- Roof and siding shingles
- Vermiculite attic insulation
What to do if your home was built before 1990:
- Have a Designated Substance Survey (DSS) completed by a certified inspector before any demo work begins
- If asbestos-containing materials are identified, hire a licensed asbestos abatement contractor for removal
- Do not attempt asbestos removal yourself under any circumstances
- Ontario industry experts recommend testing for homes built between 1930 and 1990 before any renovation that involves opening walls, removing flooring, or disturbing ceilings
Lead Paint in Older Ontario Homes
Lead-based paint was commonly used in Canadian homes built before 1980. When intact and undisturbed, lead paint poses minimal risk. When sanding, scraping, or demolishing painted surfaces, toxic lead dust is released into the air.
Lead exposure is particularly dangerous for young children and pregnant women, causing developmental and neurological damage. A homeowner undertaking demolition of walls, trim, or window frames in a pre-1980 home should have surfaces tested for lead paint before any work that disturbs them.
Worth Remembering
Testing for asbestos and lead before demo is not about being overly cautious. It is about knowing what you’re working with before disturbing it. Materials that are undisturbed are generally not an active risk. Materials that are sanded, cut, drilled, or demolished release particles that become a health risk. The testing is about understanding what’s there before you disturb it.
For a broader look at permit requirements, inspection stages, and project sequencing in Ontario, the Renovation Timeline and Permit Guide covers when testing needs to happen relative to your permit application and project start date. And if you want to understand how your bathroom’s style choices connect back to the practical decisions in this guide, the Bathroom Design Styles and Trends 2026 Guide is worth a read alongside this one.
Mould and Moisture Prevention in Ontario: FAQ
What causes mould in a bathroom after renovation?
The most common mould and moisture prevention failures are inadequate waterproofing membrane, insufficient ventilation, and grout used where caulk should be at change-of-plane joints. All three allow moisture to penetrate surfaces and reach organic substrate materials where mould can establish. A proper mould and moisture prevention strategy addresses all three during the renovation phase, not after.
Can I use regular drywall behind tile in a shower?
No. Regular drywall is not appropriate behind tile in any wet zone. The paper backing absorbs moisture, softens, and provides ideal conditions for mould growth. Cement board or foam board (such as Wedi or Schluter) are the appropriate substrates for shower walls and tub surrounds. Moisture-resistant drywall (green board) is only suitable in dry zones where it will not come into direct contact with water.
Where does caulk go vs grout in a bathroom?
Grout goes between tiles on the same surface plane. Caulk goes at every change of plane, where the floor meets the wall, where the wall meets the tub deck, where two walls meet in a corner. These joints experience movement and expansion. Grout is rigid and will crack at these locations over time. Flexible silicone caulk maintains the seal through movement and is the correct material for mould and moisture prevention at these joints.
How long does bathroom exhaust fan need to run after a shower?
Health Canada guidance recommends keeping the exhaust fan running for at least 30 minutes after a shower or bath. This gives the fan enough time to remove the residual moisture from the air before it settles on surfaces and begins contributing to condensation and long-term mould risk. A timer switch or humidity sensor that automates this is a practical upgrade that costs very little and removes the need to remember.
Is asbestos testing required before a bathroom renovation in Ontario?
Yes, if your home was built before 1990. Under Ontario Regulation 278/05, materials that may contain asbestos must be tested before they are disturbed or removed. This applies to any demolition work including tile removal, wall opening, and ceiling work. A Designated Substance Survey should be completed before your renovation begins. The fine under the Ontario Occupational Health and Safety Act for improper asbestos handling is $25,000. This is a legal requirement, not optional.
What are the signs that moisture damage is already in my walls?
Visible signs include staining on walls or ceiling, paint bubbling, grout cracking or darkening, and tile lifting. Less visible signs include a persistent musty smell, cold spots on walls, excessive condensation after showers, and a soft or spongy floor near the toilet or tub. If any of these are present, raise them with your contractor before demo begins so the scope of work can account for what’s likely to be discovered.
When do I need professional mould remediation instead of DIY cleaning?
Small surface mould under 1 square metre (10 square feet) on hard, cleanable surfaces can generally be addressed by a homeowner with soap and water, an N95 respirator, rubber gloves, and eye protection. If the mould covers a larger area, is inside wall cavities, is on structural framing, recurs after cleaning, or is discovered during renovation demo, professional remediation is recommended. The CCOHS and Health Canada both recommend professional assessment when mould has penetrated into building materials.
Are GFCI outlets required in bathrooms in Ontario?
Yes. All outlets in bathrooms must be GFCI protected under the Ontario Building Code. This is not a preference or upgrade, it is a code requirement with no exceptions. In kitchens, outlets within 1.5 metres of a sink require GFCI protection. A licensed electrician handles GFCI compliance automatically as part of any kitchen or bathroom electrical rough-in. If a contractor suggests GFCI outlets are optional in a bathroom, that is a serious red flag.
How do I choose bathroom floor tile with adequate slip resistance?
Look for a Coefficient of Friction (COF) of 0.60 or higher for wet floor applications. PEI rating of 3 or higher for bathroom floors. Textured tile or matte-finished tile provides better grip than polished or high-gloss surfaces in wet conditions. Ask your tile supplier for the COF rating on any floor tile you are considering for bathroom use. Large-format polished tiles can be appropriate for bathroom floors if they carry the correct wet-area COF rating, but many do not.
What should I do if my bathroom exhaust fan vents into the attic?
Have it re-routed to vent to the exterior of the building. Venting into the attic is a code violation and a common cause of attic mould damage in older GTA homes. Warm, moist bathroom air exhausted into the attic condenses on cooler surfaces, soaks into roof sheathing and insulation, and creates ideal conditions for mould growth that can remain hidden for years. Re-routing to a proper exterior vent is typically a straightforward job costing $400 to $1,200 depending on attic access and roof or soffit distance.
Planning a Kitchen or Bathroom Renovation in the GTA?
Smart Renovations works with homeowners across Toronto, Richmond Hill, Woodbridge, and the Greater Toronto Area. We take mould and moisture prevention seriously at every stage of the project. Come see finished work in person at our Richmond Hill or Woodbridge office, or browse our project portfolio on Houzz.
Disclaimer: All information in this guide is based on research and our views, drawing on Health Canada guidance on addressing moisture and mould indoors, CCOHS indoor air quality guidelines, Ontario Regulation 278/05, and Canadian Environmental Protection Act asbestos regulations. This guide is intended as a practical reference for homeowners and does not constitute legal, medical, or engineering advice. Mould remediation and asbestos requirements vary by situation and municipality. Always consult qualified professionals for assessment and remediation. If you have questions specific to your project, reach out to us directly.