
Quick Takeaways
- Countertops and tile are permanent decisions. Quartz is the dominant countertop choice in GTA renovations for good practical reasons.
- Marble is beautiful and high maintenance. It is not a good choice for a busy kitchen countertop. It works well in low-traffic bathrooms.
- Porcelain is more appropriate than ceramic for wet wall areas. Confirm tile ratings before buying.
- Grout colour is as important as tile colour. It defines the pattern and sets the overall look more than most homeowners realise.
- A busy countertop needs a simple backsplash. A simple countertop can carry a more interesting tile. Rarely do both compete successfully in the same space.
- Floor tile belongs in the Underfoot Guide. This guide covers wall tile, backsplash tile, and countertops only.
Countertops and tile decisions shape how every surface in your kitchen and bathroom looks and performs for the next fifteen to twenty years. They are among the most permanent choices in any renovation. Getting them wrong is expensive to fix. Getting them right is the difference between a space that holds up and one that frustrates you within a few years.
This guide covers countertop materials selection and specification, wall tile and backsplash tile, grout types, and how to coordinate surfaces across a space. It does not cover floor tile. Floor tile, flooring materials, and bathroom waterproofing are covered in the Underfoot Guide. Cabinet finishes are covered in the Cabinetry Guide.
Read this before you visit any showroom. The questions you ask at a showroom are only as good as the framework you bring with you.
Jump To a Section

Countertops and Tile: Choosing the Right Countertop Material
Every countertop material involves trade-offs. There is no objectively perfect choice. The right countertop depends on how you use the kitchen, how much maintenance you are willing to do, and what your budget is. Here is an honest assessment of every material you are likely to encounter.
Quartz (Engineered Stone)
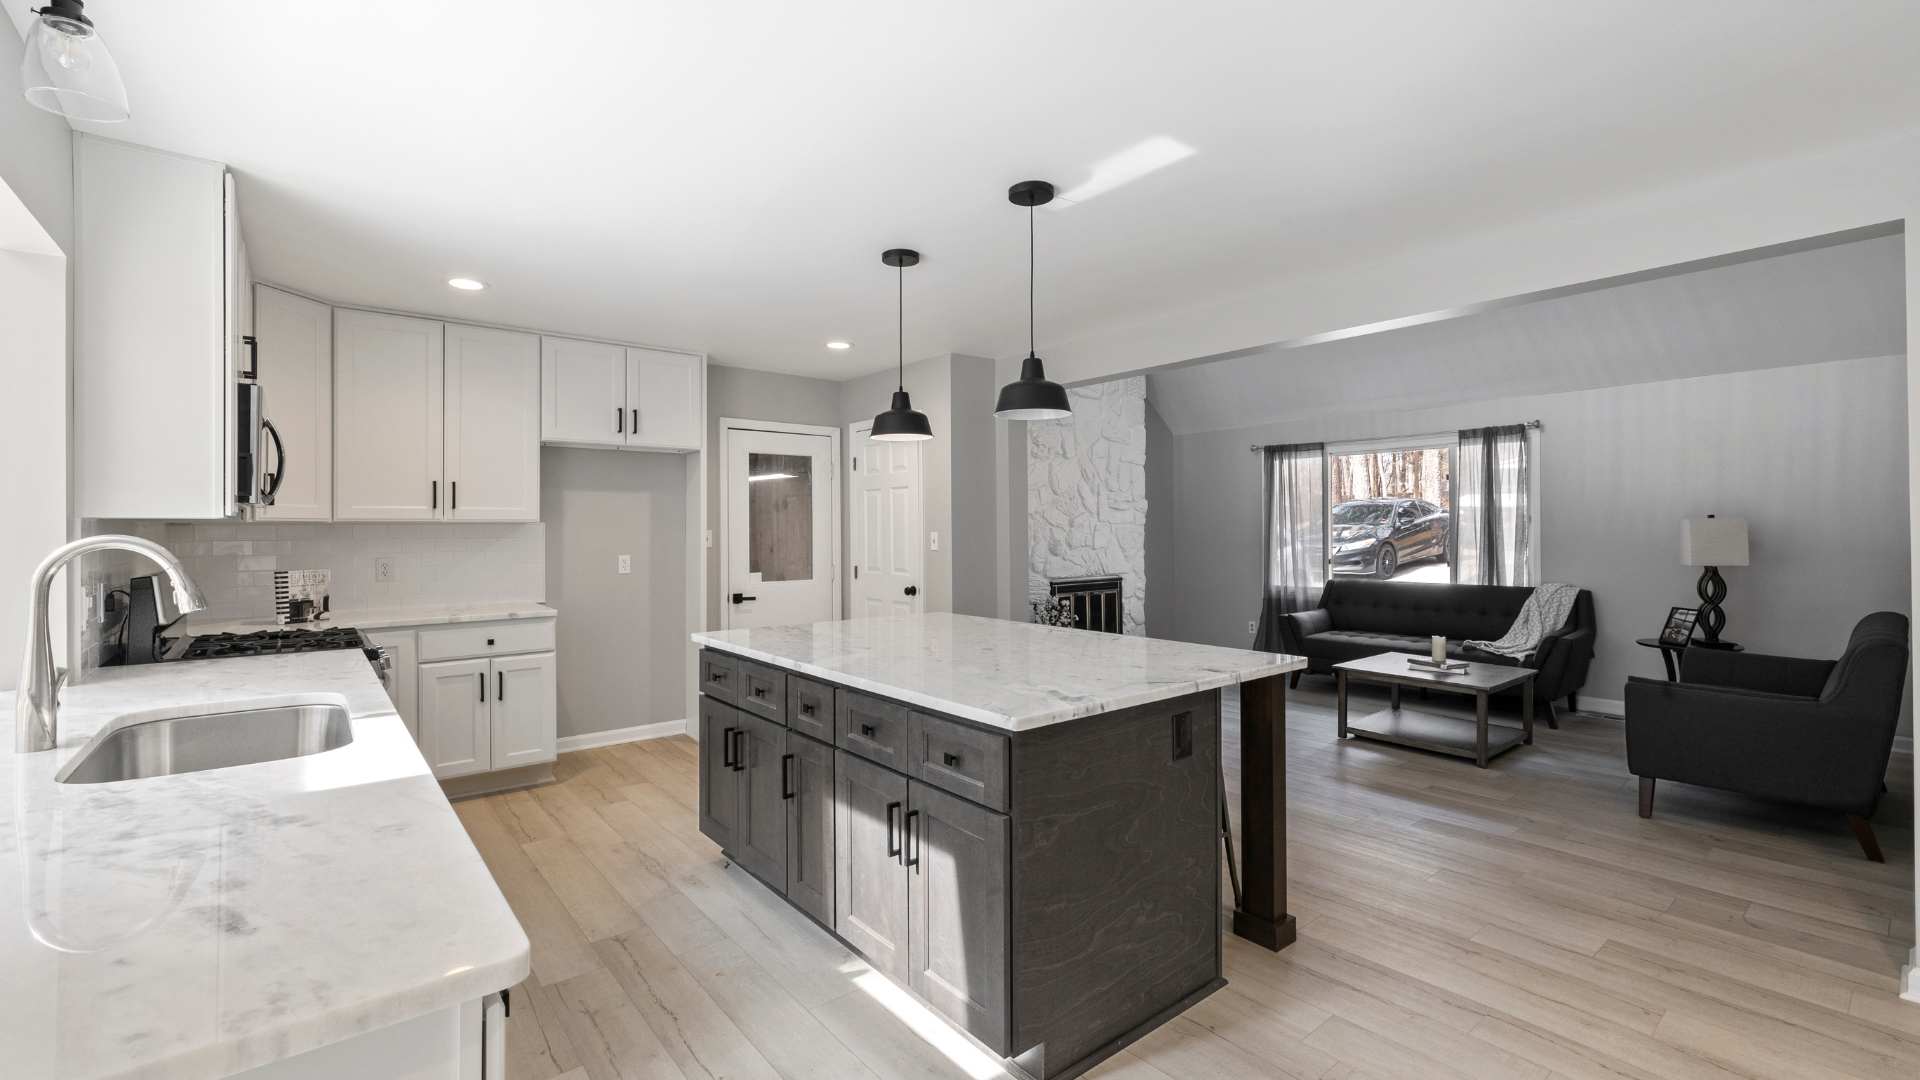
Quartz is the most popular countertop material in GTA kitchen renovations and has been for several years. It is an engineered product made from ground quartz stone bound with resins and pigments. The result is a non-porous surface that does not need sealing, resists most stains, and comes in a highly consistent range of colours and patterns.
Honest pros: Non-porous. No sealing required. Consistent pattern and colour across slabs. Very durable under normal use. Wide price range from accessible to premium.
Honest cons: Heat-sensitive. Placing a hot pan directly on quartz can discolour or crack the resin. Always use trivets. Cannot be repaired easily if chipped or damaged. The blemish usually requires a full slab replacement in the damaged area.
Approximate cost range: $60 to $150+ per square foot installed, depending on brand, thickness, and pattern complexity.
Granite
Granite is a natural stone with unique patterns in every slab. No two granite countertops look identical. It is extremely hard, highly heat-resistant, and has been a premium countertop choice in Canadian homes for decades.
Honest pros: Extremely durable. Genuinely heat-resistant. Unique natural patterns. Adds perceived value at resale. Can last the lifetime of the home.
Honest cons: Needs sealing annually or every two years depending on the stone density and finish. Porous if unsealed. Pattern variability means the slab you see in the showroom may look slightly different from what is cut for your kitchen. Must view the actual slab before ordering.
Approximate cost range: $65 to $175+ per square foot installed.
Marble
Marble is visually one of the most striking countertop materials available. The veining is organic and genuinely beautiful. It is also the most high-maintenance countertop material in regular use and the least forgiving of normal kitchen activity.
Honest pros: Exceptional aesthetic. Stays cool naturally, which is useful for pastry work. Unique patterns. Highly valued visually.
Honest cons: Etches on contact with acidic substances. Lemon juice, vinegar, wine, and even some cleaning products will leave dull marks on a polished marble surface. Stains relatively easily if unsealed. Scratches. Not a practical choice for a heavily used kitchen countertop.
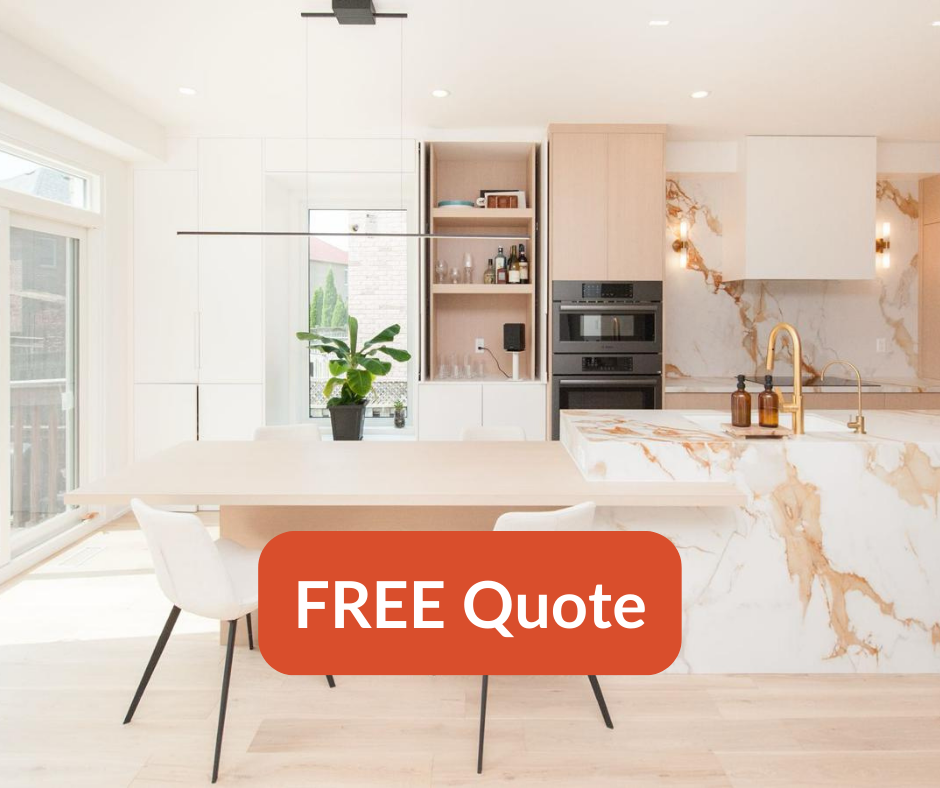
Best application: Low-traffic bathroom vanity tops, powder room counters, or as an accent surface in a kitchen where it will not see daily cooking use. If you want the marble look in a kitchen without the maintenance, a high-quality marble-look quartz is a more practical choice.
Quartzite
Quartzite is frequently confused with quartz. They are completely different materials. Quartz is an engineered product. Quartzite is a natural metamorphic stone that begins as sandstone and is transformed by heat and pressure over time. It is harder than granite, genuinely heat-resistant, and has the veining appearance of marble without marble’s softness.
Honest pros: Very hard and durable. Heat-resistant. Beautiful natural veining. Does not etch like marble.
Honest cons: Needs sealing regularly. More expensive than most quartz options. Variability between slabs means you need to view your specific slab before ordering.
Important note: Some sellers mislabel soft marble as quartzite. Ask for documentation of the hardness rating and confirm it is a true quartzite before purchasing.
Laminate
Laminate countertops have improved significantly in the last decade. Modern laminate includes convincing stone, wood, and concrete-look options that are difficult to identify from a distance. They are the most budget-accessible countertop option and available in the widest range of patterns.
Honest pros: Lowest cost. Wide pattern and colour range. Easy to install. Lightweight.
Honest cons: Not heat-resistant. Placing hot pans directly on laminate will cause immediate damage. Edges can chip if impacted. Cannot be repaired once damaged. Visible seams at corners and joints.
Approximate cost range: $20 to $50 per square foot installed. The most budget-accessible countertop option by a significant margin.
Butcher Block
Butcher block brings warmth to a kitchen that stone and engineered surfaces cannot replicate. It is a genuine wood surface and behaves like one. It can be used as a prep surface, sanded down if scratched, and refinished over its lifetime.
Honest pros: Warm, natural look. Functional prep surface. Can be sanded and refinished. Comfortable for food prep work.
Honest cons: Requires regular oiling to stay protected and look its best. Very susceptible to water damage near the sink. Standing water and wet items left on the surface will cause the wood to warp, split, or darken over time. Not recommended as the primary countertop material around the sink area.
Best application: Island countertop or prep section away from the sink, paired with stone or quartz at the perimeter where moisture exposure is higher.
Concrete
Concrete countertops are custom-made and offer a look that no other material replicates. They can be tinted, textured, embedded with aggregates, and formed into shapes that standard slab materials cannot achieve. They are a genuinely bespoke product.
Honest pros: Completely custom. Unique look. Can integrate sinks and unusual forms. Good heat resistance.
Honest cons: Heavy. Requires structural support assessment before installation. Must be sealed and re-sealed regularly. Prone to hairline cracks over time as the concrete cures and the house settles. Cracks are a characteristic of the material, not necessarily a defect, but worth understanding before you commit.
Approximate cost range: $100 to $200+ per square foot depending on complexity and the contractor’s process.
Porcelain Slab
Porcelain slab countertops are a newer category that has gained real traction in the last three to four years. Large-format porcelain slabs are fired at very high temperatures, making them extremely hard, non-porous, UV-stable, and resistant to heat, scratches, and stains.
Honest pros: Very durable. Truly non-porous with no sealing required. UV-stable for outdoor applications. Available in convincing stone, concrete, and wood-look patterns. Large format means fewer seams.
Honest cons: More difficult to cut and fabricate than stone. Fabrication skill matters significantly. Can chip at edges if impacted. Fewer fabricators are experienced with this material compared to quartz or granite.
Approximate cost range: $80 to $180+ per square foot installed depending on the slab and fabrication complexity.
Stainless Steel
Stainless steel countertops are standard in commercial kitchens because they are hygienic, easy to clean, and genuinely durable. In residential kitchens, they are less common but worth understanding as an option for specific applications.
Honest pros: Hygienic. Heat-resistant. Easy to clean. Durable. Integrated sinks can be welded seamlessly into the surface.
Honest cons: Scratches visibly with daily use. The scratches accumulate into a patina over time, which some people find attractive and others do not. Shows fingerprints and water spots. Loud when items are placed on it. The commercial aesthetic does not suit most residential kitchen designs.
Pro Tip
Before selecting any countertop material, ask the supplier two specific questions: what damages this surface, and what does the maintenance routine look like? If you cannot picture yourself doing that maintenance regularly, choose a different material. A stunning countertop that you will not maintain properly will look worse in three years than a practical one that you will.
Countertop Edge Profiles: How the Edge Affects the Overall Look
The edge profile is the shape of the countertop edge. It is a detail most homeowners choose in under five minutes when it deserves more consideration. The edge profile affects how the countertop reads in the space and how practical it is to clean and maintain.
Countertop Thickness: 3cm vs 2cm
Most countertops are available in two standard thicknesses: 2cm (approximately 3/4 inch) and 3cm (approximately 1-1/4 inch).
Countertops and Tile: Wall Tile and Backsplash Selection
This section covers wall tile and backsplash tile only. Floor tile belongs in the Underfoot Guide and is not covered here. The distinction matters: floor tile and wall tile have different structural and slip-resistance requirements.
Wall tile and backsplash tile serve two functions simultaneously. They protect the wall surface from moisture, grease, and impact. And they are a major visual element of the room. Both functions need to be considered when making selections.
Tile Types for Walls and Backsplashes
Backsplash Design: Full Height vs Standard Height
Standard backsplash height runs from the countertop to the underside of the upper cabinet, typically 18 inches. Full-height backsplash runs from the countertop to the ceiling, covering the entire wall area including above the upper cabinets.
Full-height tile, particularly in large format, makes a kitchen feel taller and more cohesive. It is also more expensive because of the additional tile and installation area. In kitchens without upper cabinets, full-height tile is the standard expectation because there is no upper cabinet to terminate the backsplash.
Standard height is completely appropriate in most kitchens and keeps the tile budget contained. The choice should be driven by the design direction and budget rather than a sense that one is superior to the other.
Subway Tile: Why It Is Popular and Its Variations
Subway tile is a rectangular tile in a 2:1 proportion, traditionally 3×6 inches. It has been used in kitchens and bathrooms since the early 1900s, which makes it genuinely timeless rather than trendy. It works with almost every design direction and is available at every price point.
Large-Format Wall Tile
Large-format tile (anything over 12×24 inches) has become increasingly popular for bathroom walls and kitchen backsplashes because of the fewer grout lines and the clean, contemporary result. A shower tiled in large-format porcelain reads completely differently from the same shower tiled in 4×4 mosaic.
Pros: Fewer grout lines means less maintenance and a more seamless look. Contemporary aesthetic. Can make a small room feel larger.
Cons: More material waste at cuts. Heavier, requiring proper substrate and adhesive. Requires a highly skilled installer. Any imperfection in the wall surface is amplified by the large format. Lippage (tile edges not sitting flush) is more visible in large format tile than small. Confirm your installer has specific experience with large-format tile before proceeding.
What Wall Tile and Shower Retiling Actually Cost
Material and installation costs vary meaningfully by tile type. Ceramic wall tile typically runs $2 to $6 per square foot in materials, mid-range porcelain $5 to $15, and large-format porcelain $15 to $40 or more. Installation labour adds $8 to $15 per square foot for standard-size tile and $15 to $30 for large-format, since bigger tiles need a flatter substrate and more careful cutting to install well.
If you’re retiling a shower specifically, wall tile is only part of the total cost. A waterproofing membrane goes on before any tile, and the shower floor follows different tile rules than the walls covered in this guide. For the complete shower retiling picture, including waterproofing and floor tile, see our Bathroom Renovation Cost Guide.
Mosaic Tile: Where It Works and Where It Does Not
Mosaic tile refers to small tiles, typically under 2 inches in any dimension, usually sold on mesh sheets. The many small pieces and many grout lines make it ideal for curved surfaces and irregular shapes, which is why it works well on shower floors where the pitch requires small tiles to follow the slope.
Used as an accent strip or feature section, mosaic tile adds visual interest without taking over a space. Used as the dominant wall tile in an entire room, it can feel visually busy and makes the space feel smaller. It is also the most demanding tile to keep clean because of the high ratio of grout to tile surface area.
Pro Tip
Always order 10% more tile than your measured area for straight-lay installations. For herringbone, diagonal, or pattern installations, order 15 to 20% extra. Cuts and breakage are unavoidable, and running short mid-installation from the same dye lot is a problem that tile from a later order will not solve exactly. Order everything upfront.
Grout: The Decision Most Homeowners Rush and Regret
Grout colour and type deserve as much consideration as the tile itself. The grout lines define the tile pattern and set the maintenance requirement for the entire surface. A poorly chosen grout can undermine an excellent tile selection.
How to Coordinate Countertops and Tile with Cabinetry
Surface coordination is where most renovation material selections succeed or fail. Individual materials can be beautiful in isolation and look wrong together in the same room. These are the practical principles that prevent that outcome.
One Thing Worth Remembering
Surface decisions countertops and tile are among the most permanent in any renovation. Budget a few extra weeks in the selection process. Bring samples home. Look at them in the real light at different times of day. The time spent in selection costs nothing. The time spent fixing a wrong decision costs significantly.
See Countertop and Tile Samples in Person
Countertops and tile selections always look different in person than on a screen. We work with GTA homeowners from two locations. Come in and compare options side by side with someone who has specified hundreds of surface selections across the region. You can also see completed projects on Houzz.
Richmond Hill Office 10815 Bathurst St, Unit 5 | Woodbridge Office 8A, 40 Innovation Dr
|
Frequently Asked Questions
What is the best countertop material for a busy kitchen in the GTA?
Quartz is the most practical choice for most busy kitchens. It is non-porous, requires no sealing, and comes in a wide range of patterns and colours. It handles daily use well. The one limitation to know upfront: it is heat-sensitive and requires trivets for hot pans. Granite is a strong alternative if you prefer natural stone and are comfortable with annual sealing.
Is marble a good countertop for a kitchen?
Honest answer: not for a busy kitchen. Marble etches on contact with acidic substances, stains if unsealed, and scratches. In a kitchen where cooking, spills, and daily use are constant, marble will show wear within the first year. It is better suited to bathroom vanity tops or low-traffic accent surfaces. If you love the look, a high-quality marble-look quartz delivers the aesthetic with far more durability.
What is the difference between quartz and quartzite?
Quartz is an engineered product made from ground quartz stone and resins. It is non-porous and requires no sealing. Quartzite is a natural metamorphic stone that is very hard, heat-resistant, and has marble-like veining but without marble’s softness and porosity. Quartzite requires sealing. Some sellers mislabel soft marble as quartzite, so ask for documentation of the hardness rating before purchasing.
Should I use ceramic or porcelain tile for my bathroom walls?
Porcelain for wet areas, always. Porcelain is fired at higher temperatures than ceramic, making it denser, less porous, and significantly more moisture-resistant. For shower walls, tub surrounds, and any wall with direct or sustained water exposure, porcelain is the appropriate specification. Ceramic is acceptable for dry wall areas and standard kitchen backsplash applications away from direct water contact.
What grout colour should I choose for a white subway tile backsplash?
It depends entirely on the look you want. White grout with white tile reads seamless and minimal, almost disappearing. Dark grout with white tile reads graphic and patterned, emphasising every tile joint. Medium grey is the most forgiving choice in a kitchen because it shows neither staining nor fading as readily as the extremes. Bring a grout sample home and look at it next to your tile in the actual light before finalising.
What is epoxy grout and is it worth the extra cost?
Epoxy grout is a two-component system that is non-porous, stain-resistant, and does not require sealing. It costs significantly more than cement grout and requires a skilled installer with specific experience. For shower floors, kitchen backsplashes, and areas where long-term cleanliness matters most, epoxy grout is worth the cost. For standard wall tile in lower-use areas, sealed cement grout is a practical and more economical alternative.
What countertop edge profile is most popular in 2026?
Eased and bevelled profiles are dominant in 2026 because they suit contemporary and transitional design directions, which are the most popular kitchen styles right now. The waterfall edge is increasingly common on islands and peninsulas in higher-budget renovations. Ogee and other ornamental profiles suit traditional kitchens but are less common in new GTA renovations currently.
How much tile overage should I order?
Order a minimum of 10% overage for straight-lay tile installations. For herringbone, diagonal, or patterned installations, order 15 to 20% extra. This covers cuts, breakage, and any tiles needed for future repairs. Always order from the same dye lot — tile from different production runs can vary in shade, and running short after the original dye lot is exhausted is a common and frustrating problem.
Can I use butcher block countertops near the sink?
Not ideally. Butcher block is wood and behaves like wood in a wet environment. Standing water and consistent moisture exposure near the sink will cause warping, splitting, and darkening over time. The best application for butcher block is an island section or prep area away from the sink, paired with a more moisture-resistant material like quartz or granite at the perimeter near the sink.
How do I coordinate my countertop with my backsplash tile?
Start with undertones. Match warm-toned countertops with warm-toned tile and cool-toned countertops with cool-toned tile. Then manage pattern. If your countertop has a bold or busy pattern, choose a simple tile. If your tile has visual interest, choose a quieter countertop. Bring physical samples of both home and evaluate them together in the real room under the real lighting before making a final decision.
Ready to Choose Your Countertops and Tile?
We help GTA homeowners work through every surface decision, from countertop material to tile selection and grout specification. Get a free quote or reach out to start the conversation.